Why New Gear Cables Always Stretch After Installation
Gear cable stretch has gotten complicated with all the conflicting advice flying around. As someone who’s botched more than a few cable installs on my old Trek 7.3 FX, I learned everything there is to know about why this keeps happening — and why it keeps confusing people. Today, I will share it all with you.
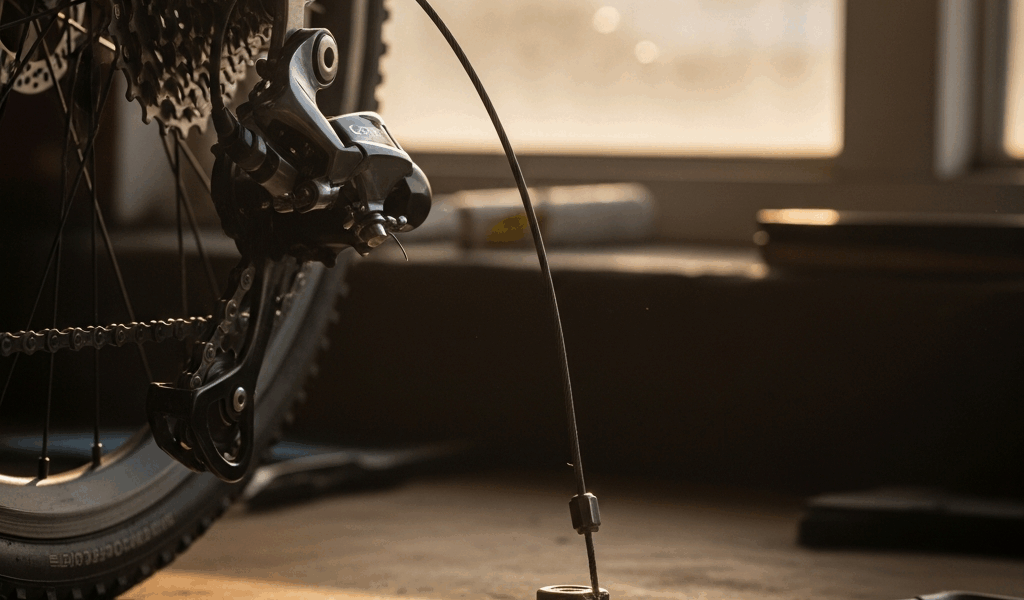
Here’s the thing nobody tells you upfront: cable stretch after a fresh install isn’t a sign you messed up. The physics is unintuitive. When you clamp a new cable into the anchor bolt, three separate things are happening at once. The housing compresses slightly under tension. The bare cable seats itself into the anchor groove. The end caps shift position as everything settles. None of this happens instantly — or even within the first ride.
Most riders feel crisp, confident shifting for the first two outings. By ride three or four, the upshifts feel sluggish, almost lazy. That timing gap is exactly why so many generic derailleur guides miss this entirely. They test once and move on. Real life is messier than that.
Even a flawless install needs a minor touch-up after 2–5 rides. Normal maintenance. Not a failed repair.
How to Tell If Cable Stretch Is Your Actual Problem
Before you touch anything, confirm the diagnosis. Cable stretch feels specific — and it’s surprisingly easy to confuse with other problems entirely.
- Sluggish upshifts on the rear derailleur. You click the shifter and wait a half-beat longer than usual for the chain to climb to the next cog. Downshifts feel totally fine. This is the textbook symptom — the one that should immediately point you toward cable tension.
- Chain hesitates before dropping to the smaller ring up front. You pull the lever, the derailleur arm moves, but the chain seems reluctant to follow. Not dramatic. Just noticeably slow in a way that wasn’t there before.
- Barrel adjuster already cranked nearly all the way out. Look at your barrel adjuster. If it’s already sitting 3/4 of a turn from fully closed, cable stretch is almost certainly your culprit — and you’re running low on adjustment room.
A bent derailleur hanger produces poor shifting in every direction and feels more abrupt, more random. A misadjusted limit screw won’t let the chain reach certain cogs at all. Cable stretch is purely about timing and tension — subtle, progressive, predictable.
That’s what makes cable stretch endearing to us home mechanics, honestly. At least it’s diagnosable.
The Barrel Adjuster Fix Step by Step
This is the move that solves 95% of cable stretch problems. Probably should have opened with this section, honestly, because it’s so simple that people skip it and spend an hour re-anchoring cable they didn’t need to touch.
So, without further ado, let’s dive in.
- Shift to the smallest cog on your cassette using the rear derailleur shifter. You want minimum cable tension as your baseline.
- Find the barrel adjuster. Most bikes have two — one on the derailleur body, one on the shifter. Start with the derailleur-side adjuster first. It’s more responsive, easier to see, and easier to feel. Look for a cylindrical knob roughly 1.5 inches long where the cable enters the derailleur body.
- Turn the barrel adjuster counter-clockwise in half-turn increments. This shortens the effective housing length, adding tension to the bare cable. A half-turn is roughly the width of your thumb.
- After each half-turn, test the upshift. Stand over the bike, click the rear shifter once, watch the chain. Crisper? Even slightly?
- Repeat until upshifts feel snappy and immediate. Stop the moment it feels right. Over-correct and the cable becomes too tight — then your downshifts will lag instead.
Three minutes. Costs nothing. Don’t make my mistake of skipping this and going straight for the anchor bolt like some kind of chaos agent.
When the Barrel Adjuster Runs Out of Range
Sometimes you spin the barrel adjuster counter-clockwise and realize it’s already maxed out — or nearly falling off the threads entirely. That means the cable has stretched enough that you need to re-anchor it at the derailleur. Don’t panic. Still fixable.
- Shift the derailleur to the smallest cog position first. Always.
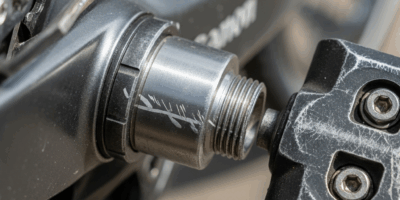
- Find the anchor bolt on the derailleur body — typically a 5mm or 6mm Allen bolt where the cable clamps down. On Shimano derailleurs it sits right on the body; on SRAM it can be a bit more recessed. Loosen it two or three turns. Enough to free the cable without removing the bolt entirely.
- Pull the cable taut by hand. Think guitar string — steady, firm tension, not a violent yank. This pre-seats the cable strands one more time and removes whatever slack remains.
- While holding that tension, rotate the barrel adjuster back toward center. Fully clockwise first, then back out one full turn. This resets your adjustment window so you have room to work with afterward.
- Tighten the anchor bolt back down. Firm, not frantic — enough that the cable won’t slip under load, but you’re not trying to strip the threads on a $45 derailleur.
- Test the shifts and dial in with the barrel adjuster again, using the same half-turn method as before.
This two-minute re-anchor solves most cases where the initial clamp didn’t account for cable settlement. I’ve done this on a Shimano Altus derailleur three rides after install and it sorted everything immediately.
How to Prevent Excessive Cable Stretch on Future Installs
Since you’re already dealing with this problem, here’s how to reduce the worst of it next time around.
Pre-stretch the cable by hand before routing it. Pull it hard from both ends five or six times before it goes into the housing. This seats the individual strands and removes slack baked in during manufacturing. Takes 30 seconds. Noticeably reduces post-install stretch. I’m apparently someone who skipped this step for two years, and switching to it made a real difference while skipping it never did.
Do a hard break-in ride right after install. Don’t cruise around the parking lot once and call it done. Go for a solid 15-minute ride and shift deliberately hard — cross-chain moves, rapid cog changes, full-range shifting front and rear. This forces the cable and housing to settle together under real load. Shifts feel slightly rough early in the ride, then smooth out toward the end. That smoothing is the cable seating itself properly.
Seat the housing end caps fully before final tension. Those small plastic or metal pieces at each cable housing termination — push them all the way in before you clamp anything down. Press with your thumb until they bottom out. Loose end caps account for a surprising amount of creep over the first few rides.
Invest in quality housing, not just the cable itself. A $15 cable paired with $4 housing will stretch more than a $12 cable inside $8 housing. Jagwire and Gore both make housings that compress less under load. Stainless steel housing beats aluminum for long-term consistency — especially if you’re riding in wet conditions where housing degrades faster.
One last thing worth saying out loud: this entire process is normal. You didn’t fail the install. New cables always need a follow-up adjustment. Professional bike shops build this into their process too — they just don’t always tell you that when they hand the bike back.


Stay in the loop
Get the latest cycle tech trends updates delivered to your inbox.