
Bike frame measuring has gotten complicated with all the different sizing systems and manufacturer variations flying around. As someone who bought the wrong size twice before getting it right, I learned everything there is to know about measuring properly. Today, I will share it all with you.
That’s what makes frame sizing endearing to us fit-obsessed cyclists — the right size transforms how a bike rides.
Why This Matters
Probably should have led with this section, honestly — wrong size causes problems that no adjustment fixes.
Too big means stretched out, numb hands, lower back pain. Too small means cramped, knees hitting bars on climbs. Neither is fun.
Measure Your Inseam
But where do you start? In essence, inseam determines standover and saddle height range. But it’s much more than that.
Stand against a wall. Feet about 6 inches apart. Place a book between your legs, spine up, pressing firmly where a saddle would sit. Measure from floor to book spine. That’s your inseam. Write it down.
Converting to Frame Size
Road bikes: Multiply inseam by 0.67. An 80cm inseam gives roughly 53-54cm frame size.
Mountain bikes: Multiply inseam by 0.66. Same 80cm inseam gives roughly 52-53cm frame.
These are starting points. Test rides refine the answer.
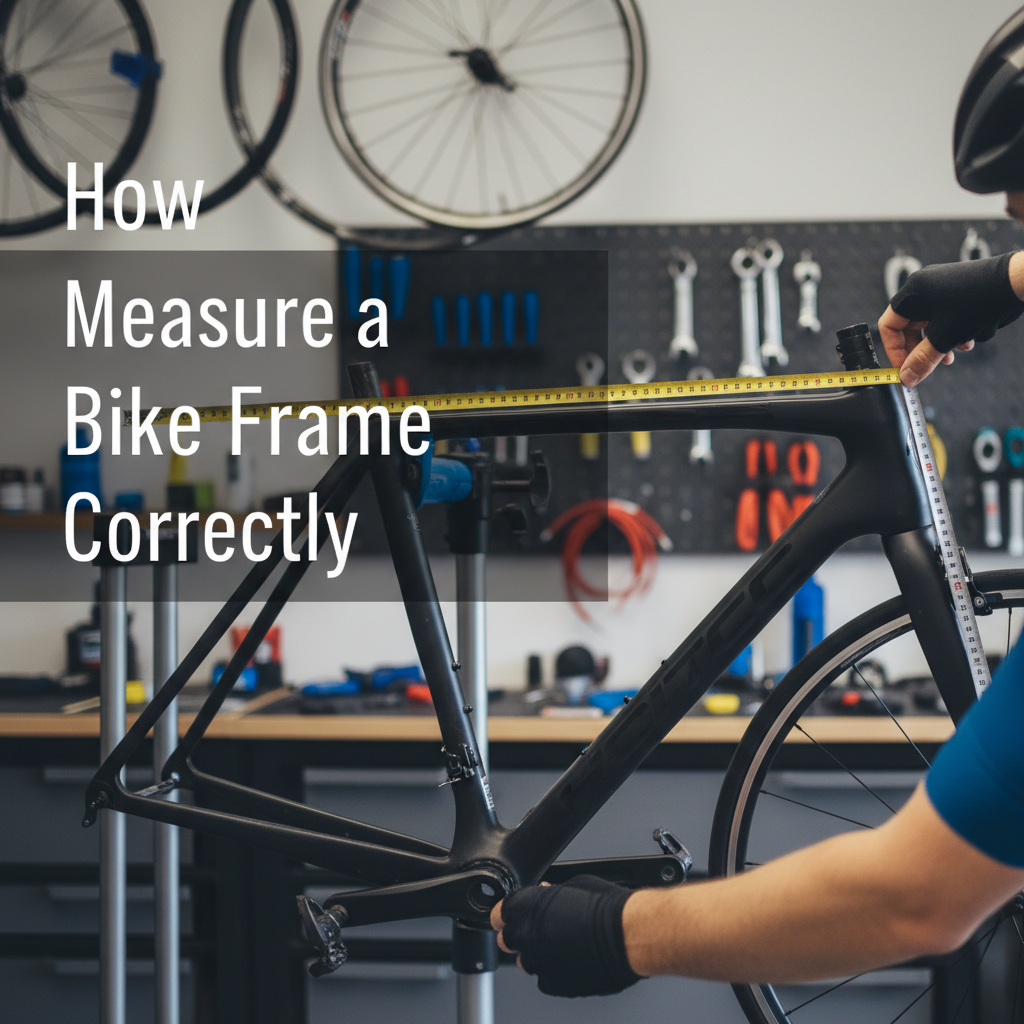
Measuring an Existing Bike
I’m apparently in the camp that measures every bike I consider. Frustrated by trusting manufacturer labels that meant different things, I started measuring myself.
Seat tube: Center of bottom bracket to top of seat tube. This is what most frame sizes reference.
Top tube: Head tube center to seat tube center. Affects reach. Sloping frames need “effective” top tube measurement — the horizontal equivalent.
Head tube: Vertical tube at front. Longer means higher handlebars, more upright position.
Standover Height
Straddle the bike with feet flat. Need 1-2 inches clearance for road bikes, 2-4 inches for mountain bikes. Less clearance means painful stops.
Reach and Stack
Reach: Horizontal distance from bottom bracket to top of head tube. Determines how stretched out you’ll feel.
Stack: Vertical distance from bottom bracket to top of head tube. Affects how upright your position is.
Modern geometry charts include these. Compare bikes using reach and stack, not just seat tube length.
Test Riding
Numbers get you close. Riding confirms the fit. Check seat height adjustment range. Assess handlebar reach. Pay attention to how the bike corners. Trust how it feels.
Making the Call
Start with inseam measurement. Calculate approximate frame size. Measure bikes you’re considering. Compare reach and stack numbers across brands. Test ride when possible. Consider professional fitting if spending significant money. Wrong size wastes money and causes discomfort — measure twice, buy once.