Tubes vs Tubeless Tires: What I Wish Someone Had Told Me Before I Switched
Picking the right tire setup has gotten complicated with all the options, opinions, and conflicting advice floating around cycling forums these days. Five years ago, you slapped a tube in your tire and called it a day. Now there are tubeless-ready rims, tubeless-compatible tires, sealant brands arguing with each other, and everyone on Reddit swearing their way is the only way. As someone who has spent over a decade wrenching on my own bikes and flatting in every embarrassing way possible, I learned everything there is to know about tubes vs tubeless tires. Today, I will share it all with you.
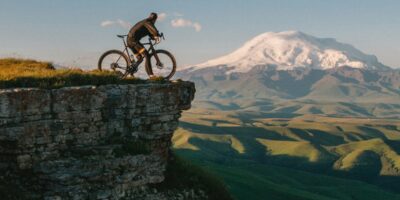
Quick backstory: last August I flatted three separate times on a single 60-mile ride. Three. Standing on the shoulder of some backroad in brutal heat, peeling a tube off my rim for the third time, I watched my buddy roll right over the same gravel and glass on his tubeless setup without even flinching. He told me to just go tubeless already. Said it was not that hard.
He was wrong about the setup part. But right about everything else.
The Tube Setup We All Grew Up With
Pretty much every bike ships with clincher tires and inner tubes. I rode that way for something like 15 years and never gave it a second thought. The concept is about as straightforward as it gets in cycling: tire mounts to the rim, tube sits inside the tire, you inflate it, you ride. Get a flat? Either patch the tube if you have the patience, or swap in a new one if you are like me and just want to get moving again.
The appeal is hard to argue with:
- Incredibly simple to understand and repair, even on the side of the road
- You can find replacement tubes almost anywhere – bike shops, hardware stores, even some gas stations
- A basic tube runs about five bucks
- Compatible with virtually any wheel and tire combination out there
I have swapped a tube roadside in under five minutes more times than I can count. Honestly, every cyclist should know how to do it. It is one of those fundamental skills that just makes you a more self-sufficient rider.
That said, the frustrations are real and they pile up over time:
- Pinch flats drive me absolutely insane. You catch a pothole at the wrong angle and the tube gets sandwiched against the rim – two little puncture holes side by side, classic snake bite. You can ride as carefully as you want and they still happen.
- Thorns, tiny shards of glass, bits of wire – the usual suspects are a never-ending threat
- You end up pumping your tires to higher pressures just to reduce pinch flat risk, which makes rough roads punishing on your body
- The tube itself creates measurable rolling resistance (it is a small difference, but it is there, and it is documented)
What Tubeless Actually Promises
Probably should have led with this section, honestly.
The basic idea behind tubeless is that the tire seals directly against the rim with no inner tube involved at all. Instead, you pour in a liquid sealant that sloshes around inside and automatically plugs small punctures while you ride. The pitch is simple: you just stop getting flats. Maybe entirely.
I was deeply skeptical when a friend first explained the concept to me. Sounded like one of those too-good-to-be-true upgrades that cycling brands love to push. But after running tubeless on my gravel bike for a full year now, and about six months on the road bike, I am fully converted. Getting there was rough, though.
How My Tubeless Setup Actually Went (So You Can Avoid My Screw-Ups)
My first attempt was a total failure. Grabbed some tubeless-ready tires, figured I would just mount them on my existing wheelset and be done with it. Nope. Turned out my wheels were not tubeless compatible in the first place. Money well spent.
Second try: proper tubeless-compatible wheels, fresh rim tape, tubeless valve stems, the right tires. Spent close to 45 minutes trying to get the bead to seat using my floor pump. The tire just sat there limp while air leaked out from every direction. Nothing I did made a difference.
Third attempt: I borrowed an air compressor from my neighbor. The first tire snapped into place in about five seconds. I felt like I had finally cracked the code. Then the second tire fought me for another half hour before it suddenly caught and launched sealant across my garage wall like a paint bomb. Those stains are still there, by the way.
But once both tires were properly seated and holding air? Completely worth it.
What Actually Changed After Going Tubeless
That’s what makes the tubeless experience endearing to us gear-obsessed cyclists – once you stop dealing with constant flats, you remember why you actually enjoy riding in the first place. Over the past year, I have noticed maybe three punctures total. Small thorns that the sealant caught instantly. I would see a tiny spray of white liquid at the tire and just keep pedaling. That was the entire drama. Compare that to tubed tires where I was averaging a flat roughly once a month, and you start to understand why people get evangelical about this stuff.
I have also been running noticeably lower tire pressures. My road bike sits around 65 psi now instead of the 90-plus I used to need. The difference in ride quality is not subtle at all – better grip when cornering, way less vibration over cracked pavement, and my hands do not go numb halfway through longer rides anymore.
And pinch flats? Gone. Cannot pinch a tube that does not exist. I have plowed into potholes that absolutely would have killed a traditional tube setup. The tire bottomed out, the rim came dangerously close to hitting pavement, and I just kept rolling. That kind of confidence changes how you ride.
The Stuff That Is Genuinely Annoying About Tubeless
I am not going to sugarcoat it. There are real downsides that the tubeless evangelists tend to gloss over:
- You have to babysit the sealant. It dries up over time, so every few months you need to pop the valve core and add more. I spaced on this once and ended up with a flat because there was not enough liquid sealant left to do its job. Lesson learned the hard way.
- Bigger cuts will still leave you stranded. Sealant is great for small holes. A sidewall slash or a serious gash? That sealant is not saving you. I carry an emergency tube on every ride now for exactly this scenario.
- Sealant gets everywhere. On your hands, your garage floor, the inside of your car. Getting it out of fabric is basically impossible. Do not ask me how I figured that out.
- The upfront cost is higher. Between tubeless-specific tape, valve stems, sealant, and compatible tires – possibly new wheels too – it is a meaningful investment compared to a five-dollar tube.
- Removing a tubeless tire is a fight. After a tire has been mounted for a year, the dried sealant practically welds everything together. You will need good tire levers and some real determination to break that bead.
Which One Actually Makes Sense for You?
It depends, and I mean that genuinely. There is no universal right answer here.
Sticking with tubes makes sense if:
- You mostly ride on clean, well-maintained pavement
- You have no interest in the setup process and the ongoing maintenance
- You are watching your budget
- Your current flat rate does not really bother you (some riders are just luckier than others)
Making the switch to tubeless is worth it if:
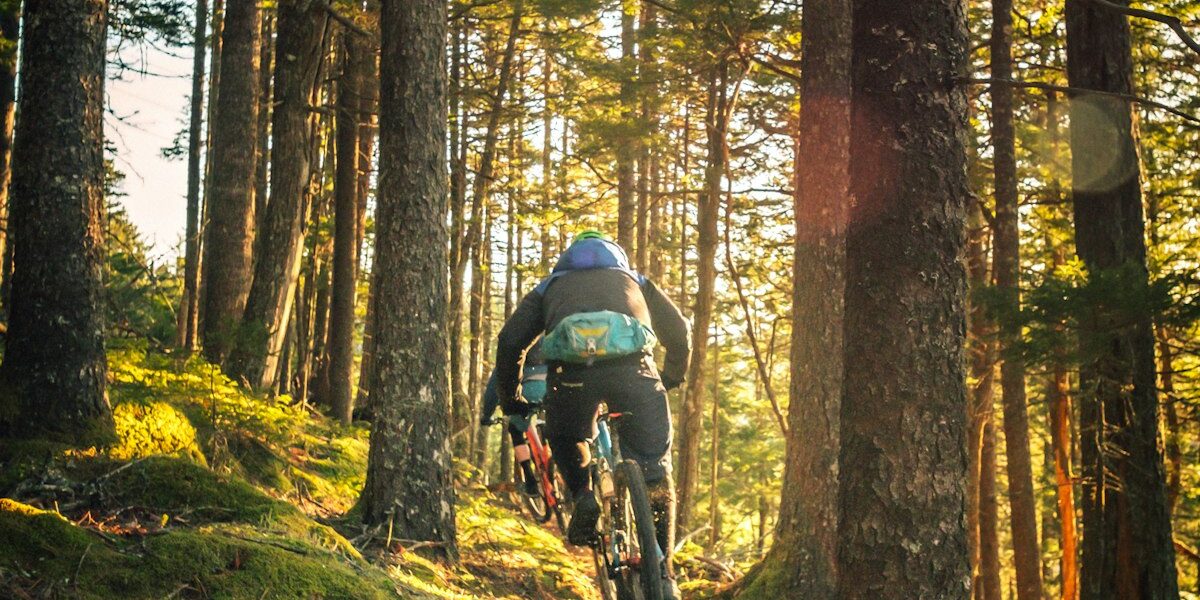
- You ride gravel, mixed surfaces, or rough roads regularly
- You are tired of dealing with frequent flats on tubes
- You want the comfort benefits of lower tire pressure
- You are okay with a learning curve on the initial setup (it honestly does get easier after your first successful mount)
On my gravel bike, tubeless is not even a question anymore. The roads I ride are covered in debris and I would be stopping to swap tubes constantly without it. On my road bike, it started as more of an experiment – but I still run tubeless there because I have grown accustomed to just not worrying about punctures.
What I Am Running Right Now
Both bikes get Stan’s sealant, roughly two ounces per tire, and I refresh it every three to four months. I keep a bottle on my workbench and top things off whenever I am already doing other maintenance. The whole process takes maybe five minutes once you have done it a couple times.
I also carry a spare tube and a mini pump on every single ride. If something truly catastrophic happens – a big sidewall tear, a destroyed valve stem, whatever – I can throw the tube in and limp home. Have not had to use it yet, but I am not about to tempt fate.
The peace of mind you get from tubeless is honestly the biggest selling point for me. The setup process is a pain, the sealant maintenance is mildly annoying, and the first time will probably test your patience. But once everything is dialed in, you just ride your bike and stop thinking about flats. For me, that trade-off is worth it every time.
Recommended Cycling Gear
Garmin Edge 1040 GPS Bike Computer – $549.00
Premium GPS with advanced navigation.
Park Tool Bicycle Repair Stand – $259.95
Professional-grade home mechanic stand.
As an Amazon Associate, we earn from qualifying purchases.