Dropper posts have gotten complicated with all the travel lengths and actuation types flying around. As someone who resisted buying one for years and now can’t imagine mountain biking without it, I learned everything there is to know about why this component changes everything. Today, I will share it all with you.
That’s what makes dropper posts endearing to us trail riders — the instant ability to get out of the saddle’s way on descents.
What a Dropper Post Does
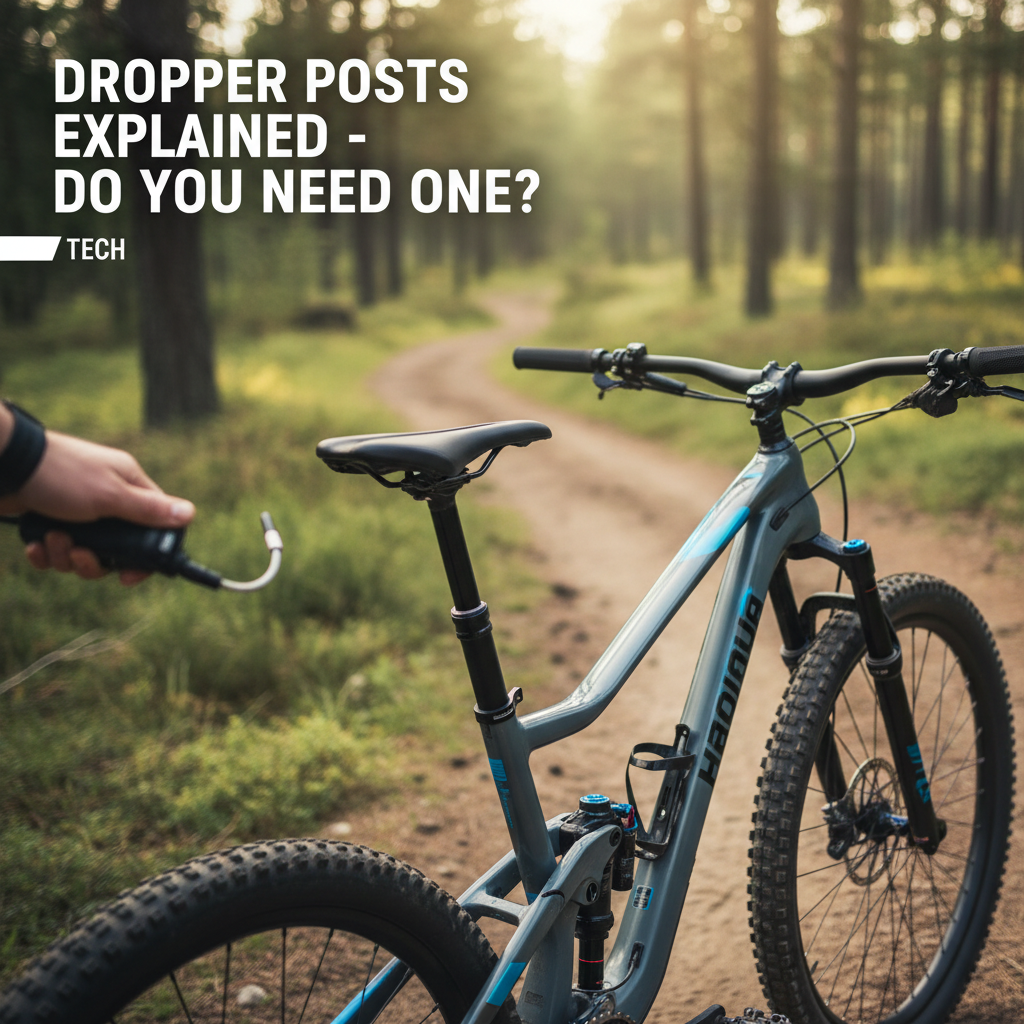
But what is a dropper post? In essence, it’s a seatpost that telescopes up and down with a handlebar-mounted lever. But it’s much more than that.
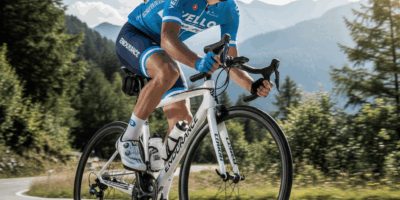
When climbing, your saddle stays at full height for efficient pedaling. When descending, you push the lever and drop the saddle 100-200mm instantly. Your center of gravity lowers, you can move your body behind the saddle, and the bike becomes dramatically more maneuverable.
Frustrated by stopping to lower my seatpost manually before technical sections, I finally installed a dropper in 2019. The transformation was immediate — features I’d previously walked became rideable. I was faster and more confident within the first ride.
Why You Actually Need One
Probably should have led with this section, honestly — if you ride any trails with meaningful descents, a dropper post is the single best upgrade you can make.
With a fixed seatpost, your saddle gets in the way during descents. You can’t shift weight back properly. You can’t absorb bumps with your legs. You’re fighting the bike instead of flowing with it.
A dropped saddle lets you use your legs as suspension. Your hips can move freely. The bike pivots underneath you while your body stays stable. This isn’t about going faster (though you will) — it’s about control and confidence.
Mechanical vs Hydraulic
Mechanical (cable-actuated): A cable runs from lever to post. Simpler, cheaper, easier to service yourself. Requires periodic cable tension adjustment. The actuation can feel slightly heavier than hydraulic.
Hydraulic: Fluid transfers the lever input. Lighter, smoother action. More expensive. Bleeding requires specific tools and knowledge — or a shop visit.
I’m apparently in the mechanical camp — my PNW dropper has worked flawlessly for four years with nothing but occasional cable lubrication. Others swear by hydraulic feel. Both work.
Travel Length
Travel is how far the post drops. Options range from 100mm to 200mm+. More travel means more saddle drop, but also requires more seat tube length to accommodate.
General guidance: get as much travel as your frame allows. You don’t have to use it all, but having it available for steep sections helps. I run 150mm on my trail bike — drops far enough for anything I ride.
Measure your seat tube depth before purchasing. The dropper needs to fit fully inserted with your saddle at proper height.
Brands Worth Considering
- PNW Components: Excellent value, user-serviceable, reliable. My personal choice.
- OneUp: Lightweight, adjustable travel, competitive pricing.
- RockShox Reverb: The original mainstream dropper. Hydraulic, proven, widely supported.
- Fox Transfer: Premium build quality, smooth operation, higher price.
Installation Basics
Installation varies by frame and routing. Internal cable routing requires threading through the frame. External routing is simpler but less clean-looking.
The lever mounts where your left shifter would be on a 1x drivetrain (no front derailleur). Most riders place it just inboard of the grip for thumb access while hands stay on bars.
Setup takes 30-60 minutes if you’re methodical. First-timers might prefer shop installation to ensure proper cable tension and lever positioning.
Maintenance
Dropper posts need occasional attention:
- Keep the stanchion clean: Wipe dirt off the exposed post before it contaminates the seals.
- Lubricate occasionally: A drop of suspension lube on the stanchion every few rides keeps things smooth.
- Check cable tension: Mechanical posts may need tension adjustment as cables stretch.
- Service internals: Every 100-200 hours of riding, depending on conditions. Some brands are user-serviceable; others require shop tools.
Making the Call
If you ride trails with any meaningful descents, get a dropper post. The improvement in descending confidence and control is transformative.
Budget options around $150-200 work well. Premium posts offer marginally smoother action and lighter weight, but the basic function is the same.
Once you ride with a dropper, you’ll never go back to a fixed post. It’s that kind of upgrade.