Dropper Posts: The Upgrade That Changed How I Ride
Alright, confession time. For years, I thought dropper posts were overkill. “I dont need to adjust my saddle height mid-ride,” Id say smugly while awkwardly hopping off my bike before every descent. Turns out past-me was an idiot.
Got my first dropper post about 18 months ago after one too many sketchy descents where my saddle kept catching me in uncomfortable places. The difference was immediate and honestly kind of embarrassing – like, why did I wait so long?
What Even Is a Dropper Post?
Super simple concept: its a seatpost that goes up and down with the push of a lever. The levers usually on your handlebar – you push it, the seat drops. Let go, and you can push the seat back up with your weight.
Thats it. Thats the whole thing. But man, does it make a difference.
How the Thing Actually Works
Theres basically two types out there – hydraulic and mechanical. Ive used both.
My first one was mechanical. Cheaper, and honestly it worked fine for about a year. Then the cable started getting sticky in cold weather and I had to fiddle with it more than I wanted. Still got the job done though.
Current one is hydraulic. Smoother action, more reliable in bad weather. Cost more, but I dont think about it as much – it just works. If youre in a wet climate, probably worth going hydraulic from the start.
Why I Actually Use Mine Now
Heres what changed for me:
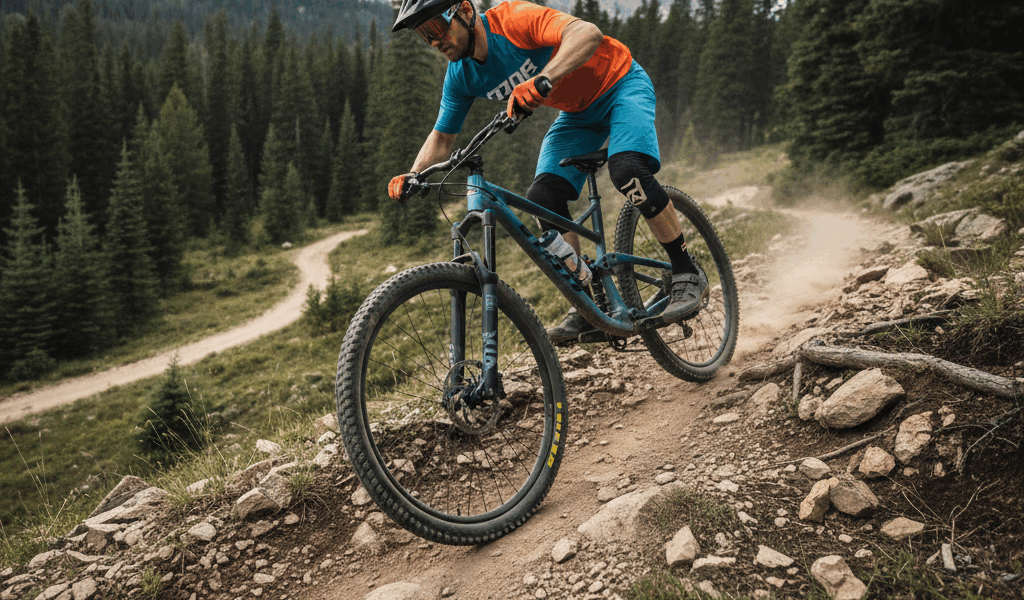
Descents got way less scary. When I drop my saddle, I can get my weight back and low. Center of gravity goes down. Suddenly steep stuff that used to freak me out feels manageable. Im not fighting my bike anymore.
Technical sections clicked. Tight switchbacks, rock gardens, rooty trails – all of it got easier when I could move around on the bike without the saddle blocking me. Didnt realize how much it was limiting my movement until it wasnt there.
Pedaling efficiency, weirdly. Because I can drop the seat for tech sections and pop it back up for climbs, Im actually in the right position more of the time. No more compromising with a medium height thats bad for both.
Finding the Right One
Okay, heres where I screwed up initially and hopefully you can avoid the same mistake.
Travel matters. This is how far the post can drop. I bought one with 100mm of travel first, thinking thatd be plenty. It was okay. But when I switched to 150mm, the difference was huge – could really get low when I needed to.
If youre shorter, 100-125mm might be fine. Im 5 foot 11 and 150mm is the sweet spot for me. Some posts go up to 200mm but honestly that seems like a lot unless youre on seriously gnarly stuff.
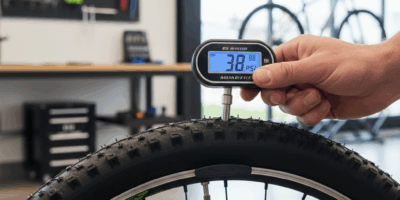
Measure your seat tube. Seriously. Your dropper needs to fit inside it, and theres a lot of variation. I had to return my first purchase because I didnt check this properly. Annoying.
Internal vs external routing. Internal looks cleaner but your frame needs to support it. My old hardtail didnt have internal routing, so I had a cable running along the outside. Worked fine, just not as pretty.
Putting It On (Not as Bad as I Thought)
I was intimidated by installation but its honestly not that hard if youre okay with basic bike maintenance. Remove old seatpost, route the cable, install new post, adjust the lever. Took me maybe an hour the first time, including a lot of head-scratching.
Main thing is getting the lever position right. I like mine where my thumb naturally rests. Took some trial and error but once its dialed, you dont think about it.
Keeping It Working
Heres what Ive learned about maintenance (mostly from neglecting it and paying the price):
Keep the stanchion (the shiny part that moves up and down) clean. Wipe it down after muddy rides. If grit gets in there, things get sticky real fast.
Every few months I put some suspension lube on it. Takes two seconds, keeps everything smooth. I ignored this for way too long on my first post and it got sluggish.
Check your cable regularly if youve got a mechanical setup. Mine frayed inside the housing once and the post just stopped working mid-ride. Not ideal when youre 10 miles from the trailhead.
Brands Ive Tried or Friends Ride
RockShox Reverb – This is what Ive got now. Smooth, reliable, been solid for over a year. Had to bleed it once when it got air in the line, which was a bit of a pain.
Fox Transfer – Buddy has this one. Beautiful action, maybe the smoothest Ive tried. Also the most expensive. If moneys not an issue, hard to beat.
KS Lev – Another friends got one. More affordable, simpler design. Hes had it for years with minimal issues. Probably what Id recommend for a first dropper on a budget.
OneUp – Good value, lots of travel options. Havent used one personally but I hear good things online.
Problems Ive Had (And Fixes)
Post wont stay up? Usually means air has gotten into a hydraulic post, or a cable is slipping on a mechanical one. Bleed or adjust tension accordingly. Had this happen twice.
Post wont drop? Sometimes dirt buildup, sometimes the cable is too tight. Clean it first, then adjust.
Wiggly saddle? Check the collar at the top of the post. Mine loosened up over time. Tightened it, problem solved.
Is It Worth the Money?
Look, a decent dropper is gonna run you $200-400 for the post, plus installation if you dont do it yourself. Thats not nothing.
But honestly? Best upgrade Ive made to my mountain bike, period. Better than new wheels, better than a nicer fork. The difference it makes in how you ride is hard to explain until you experience it.
If youre doing any trail riding with descents – even mellow ones – get a dropper. Your future self will thank you. Mine certainly does, every single ride.